The base of the support arms of the window rock guard on the front of our travel trailer had worn through the aluminum siding and water was getting inside. The damage was roughly 1 inch high by 2 inches wide. Three options that were considered were:
- Replace the aluminum panel (approximately 8.5 feet long)
- Cover the damage using an aluminum repair patch
- Repair the damage using either fiberglass or Bondo.
Replacing the entire aluminum panel seemed a little extreme, especially because it also meant removing both corner trim section. So that option was only considered as a last resort; if other repairs didn’t work. Using an aluminum patch would only be an option for short-term fixes because it wouldn’t be an attractive fix. That left using either fiberglass or Bondo to make the repair.
Having fiberglassed a few boats and bondo-ed a few cars, I figured fiberglass seemed stronger and tried that first. The fiberglass made a strong bond but despite endless sanding, it never came out flush or seamless in appearance. Maybe next time I’ll try it again using short strand fiberglass body filler. After sanding it completely off the siding (taking care not to damage the aluminum), I moved to Bondo.
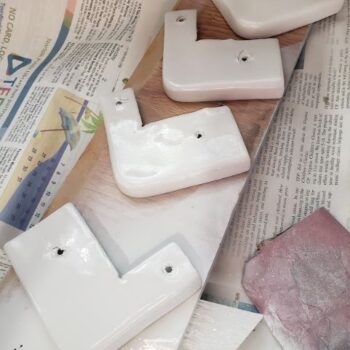
Bondo needs something to hold on to, so I prepped the surrounding aluminum by sanding with 60 grit sandpaper. Because the damage was on the raised corrugated section of aluminum (not flush with the plywood underneath), I used a small section of adhesive plastic screen patch. The patch was pushed through the damaged opening and pulled forward (using athin wire to guide it on the inside) so it stuck to and covered the insideof the hole. A thick piece of paper with string attached in the center would probably also have worked in a pinch.
Once there was something spanning the opening for the Bondo to grip on to, it was time to mix a small amount of bondo filler to make the first skim coat. Using a small putty knife (a credit card will also work in a pinch), a thin coat of the filler was applied and pressed into the patch then worked until it was almost flush with the aluminum. Once the skim coat had cured, another thin coat of bondo was applied over the patch and the aluminum siding; extending out about 2 inches beyond the damaged area.
The cured filler was sanded using 100 then 300 grit sandpaper, then coated with a thin coat of primer. Fine sanding lines were touched up using 600 grit sandpaper. The repair was then given several coats of white spray paint.
In order to prevent paint runs when painting aluminum siding, I like to apply a very fine coat of the spray paint first; which looks more like overspray. Once the fine coat of paint begins to dry, it gets tacky, which gives additional coats of spray paint something to hold on to.