The pop-up camper that we were remodeling had the typical laminate countertops. Ours were in a sandstone finish, which would not work with the white and gray interior we were hoping for. In addition to that, the small cabinet beside the front door was missing its countertop.
We had thought about painting and then sealing the countertops and table, but because it’s a pop-up camper we needed something a little more durable and water resistant.
The great thing about epoxy is that you can get as create as you want. This was our very first epoxy project so we stuck with a conservative faux granite finish that was epoxy sealed. Now that we have a few other epoxy projects under our belt (including our kitchen countertops), we could have possibly done a Carrara marble finish or even an exotic grey pour.
We won’t go into much detail about creating a faux granite look using acrylics paints and glazes; there are plenty of resources on the internet that provide excellent tutorials.
This is more about providing inspiration for when you are ready to update your camper’s table and/or countertops, or (if like us) you need to create a top because one is missing.
Two important tips:
We do have two important tips to help you get consistent paint results as well as a glass-like finish:
- Faux paint all your separate surfaces (countertops, table, etc) at the same time. We brought the table top and small countertop inside to paint, then did the main countertop inside the camper the next day. It took forever to try to match the finish from the previous day.
- Dam off your countertops and table with painter’s tape before you pour your epoxy. Epoxy tends to pull away from edges, which leaves a grainy finish. By damming off the edges for 30 or more minutes, the epoxy will have time to set up a little instead of just running off the edges and eventually pulling away.
Supplies needed:
- Epoxy – you won’t need more than 32 – 64 oz if you’re doing a pop-up camper
- denatured alcohol (1 quart for every 2 gallons of epoxy being applied)
- 3 inch rolls of painter’s tape
- textured sponge for faux painting (dollar store, Amazon, or make your own)
- Latex gloves
- Acrylic paint and glazes in your preferred colors
- two quart round plastic containers (dollar store)
- Silicone spatulas for mixing (dollar store)
- plastic drop cloths (dollar store)
- metal putty knife (dollar store)
If you are making a table from scratch, all you’ll need is a section of 3/4 plywood. Cut it to the size you need, round the corners to match the edges on your countertops (we hand sanded instead of routering), then seal it with primer.
Faux painting your table and countertops
You can find tutorials on how to faux paint pretty much anywhere. The most important part is to practice on a sample board before actually attempting it on your camper’s surfaces.
We hated our first two samples and decided to go with a more subdued grey mottled granite finish. The sample below was just too blotchy.
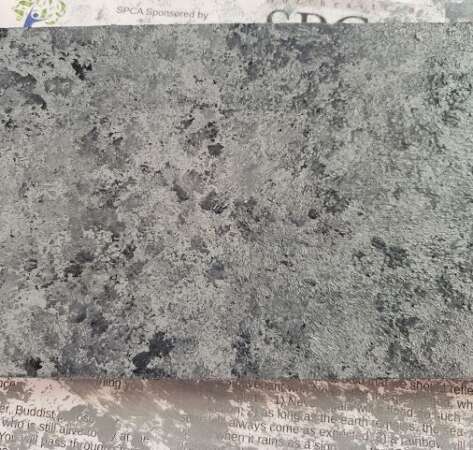
This sample was not what we wanted.
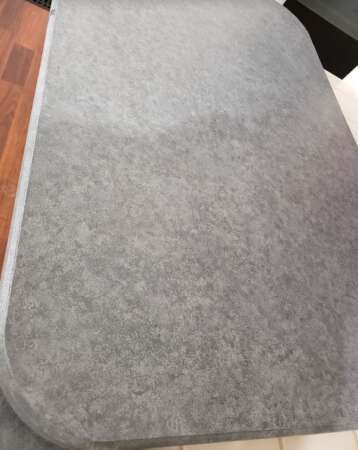
Here is the finish we did on our dinette table top before it was coated with epoxy.
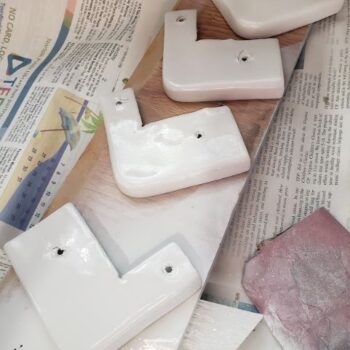
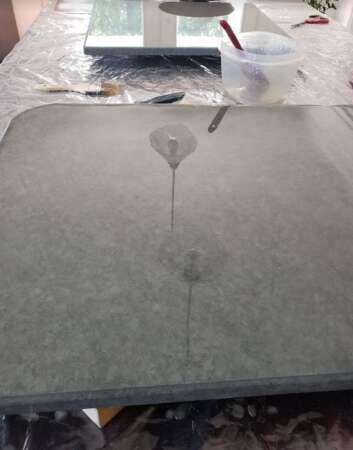
And here is the dinette table top as well as the cabinet top after being coated with epoxy. If you look closely at the dinette table top edges, you can see the grainy finish where the epoxy pulled away from the edges. This could have been avoided if we had made a dam to prevent the epoxy from running off right away. We addressed the grainy finish be applying two more coats of epoxy.
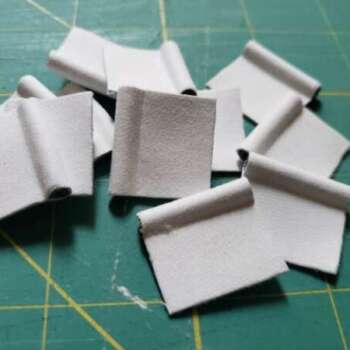
Dam Off Your Countertop Edges
Damming off your countertop edges is done by applying painter’s tape so that it sticks up about 1 to 1 1/2″ above the countertop’s edge. The tape prevents freshly-pour epoxy from freely running off the counter.
After you’ve mixed and poured your epoxy, you should let it set up a little. Test it at the 30 minute mark by pulling a small section of tape downward to see how quickly or slowly the epoxy moves over the tape. Push the tape back up into place if the epoxy is moving too quickly. You will know it has set up enough to remove the tape when the epoxy slowly drips over the sides of the table top. Now you can remove all the tape and let the epoxy work its way down the sides.
- As the epoxy works it way down and is the sides are about 75% covered, use your gloved hand to smooth it out evenly.
- If the epoxy finish is uneven or has started to set up too much to smooth out, coat your gloved hand with denatured alcohol and use pressure to smooth it out.
For the sink countertop inside the camper, we used plastic drop cloths to protect the cabinets and floor. If epoxy gets anywhere you don’t want it, use denatured alcohol to clean it up.
Deal With The Drips
- Using a metal putty knife held at an angle, scrape off the drips on the surface.
- Coat your gloved hand with denatured alcohol and smooth it out evenly.
- Repeat this process for the next several hours until no more drips appear.
- If you miss some drips, you can sand them off later. You will need to wear a respirator when sanding.
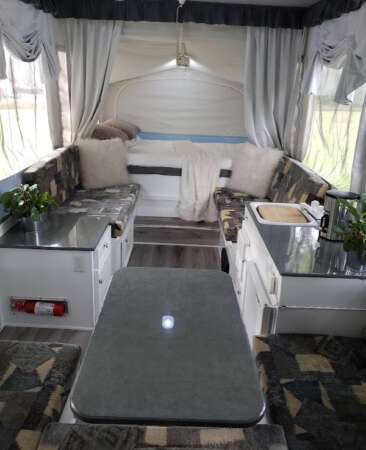
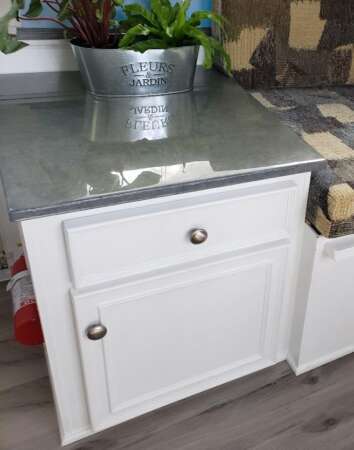
Finished!
Our newly refinished faux granite countertops and table: