Before You Do Anything!
Take a lot of photos and measurements.
- Take photos of the interior to capture how everything is attached to the side board.
- Measure the distance of the support poles and bolts from both the ceiling and from the corner of the roof.
- Measure the locations of the exterior support bolts both from the top of the roof and the ends of the camper.
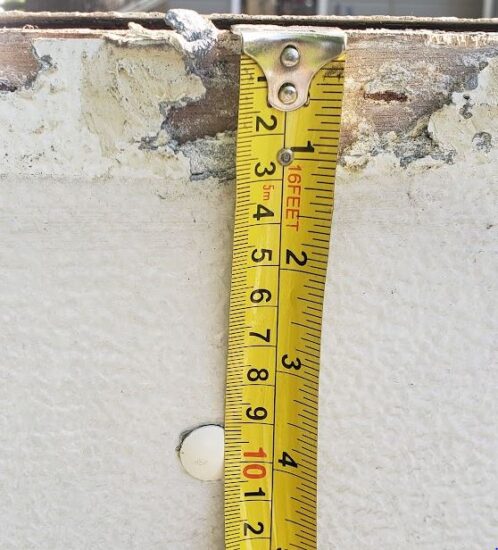
- Measure the width of your original of the plywood used for your side wall. Is it 1/2″, 3/8″, 5/8″, etc?
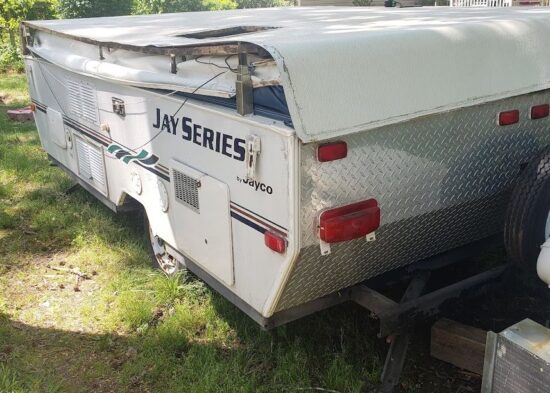
- Important => measure the width of the interior opening of each end of the camper and the interior length of the side board (being able to close the camper up is important).
- Keep everything you demo, including the damaged board. Use this as a template.
Wish we had measured first, but we tore everything down and later learned we should have taken lots of photos and measurements before the demo.
Having skipped this step, we ended up using measurements from the other side wall, but we didn’t have the interior opening dimensions and they are really important.
Let’s Start With The Mistakes We Made
Take Measurements
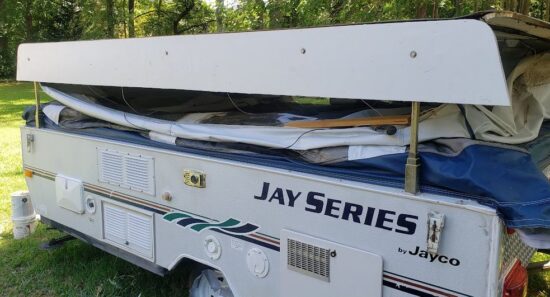
Popup Camper Side Wall Board Measure
Again, we didn’t take measurements before we demoed the side board. This part was the most important factor when reassembling the roof if you want your camper to close up properly. The interior dimensions are critical.
Don’t Use A Joined 3/4″ Board For The Side Wall
Literally every video we saw on side wall replacement showed people using either 3/4 plywood or 3/4 wood boards that were glued or pocket holed together to make up the side board. It made sense; what else would you do if you need a board over 10 feet in length? So that’s what we did too, only to find that a few weeks later our side wall bowed downward slightly at the joint and the roof wouldn’t close properly.
If you use 3/4″ wood and the width of the original plywood isn’t 3/4″, you will run into problems. Our plywood was 1/2″ wide, and that extra 1/4″ caused a world of problems. The support poles of the lift system will be pushed in slightly at the top, and the bottom of the roof will not overlap the camper’s body as snuggly as it should.
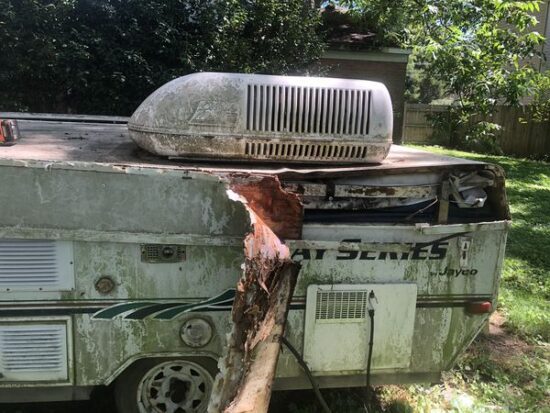
Don’t Kill Yourself Trying To Salvage The Outer Aluminum Flashing
It took forever to lift the aluminum skin off the original side board. The aluminum is glued on to the plywood with some type of industrial-strength glue and just will not peel off without chunks of glue and strips of plywood embedded in it. Unless you are very lucky, the aluminum will also tear and get permanent crimps and random bends in it regardless of how careful you are.
To reuse the outer flashing, you will need to strip off every bit of the glue and all the tiny chunks of plywood. And any crimps or odd bends in the aluminum will be permanent.
The only real reasons to try to salvage the flashing is so that the outer skin matches and to avoid the expensive cost of buying new aluminum.
On our second attempt to fix the side wall, we ended up using vinyl flashing. It doesn’t have the same texture as the rest of the roof, but it looks great. It looks 200% better than the crimped, bumpy aluminum skin that we glued on the first time.
Our Second Repair Attempt (The Right Way To Repair The Side Wall)
Fortunately, we had to stop working on the camper before we could put all the trim back on. When we returned to the project a few months later, we decided to tear out what we had done and start over.
Create The Board For The Side Wall Using 1/4″ Plywood
Our original board was 10 feet 4 inches long and just slightly wider than 1/2″.
Using a 4′ X 8′ piece of 1/4″ plywood, we cut out our side board in 4 sections like the image below.
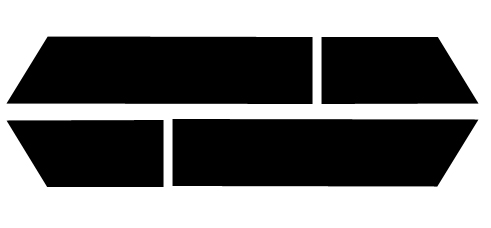
Using floor adhesive glue we sandwiches these pieces together so that the shorter sections of plywood were on opposite sides.
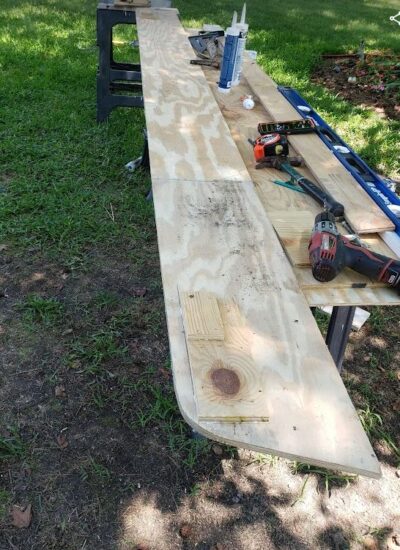
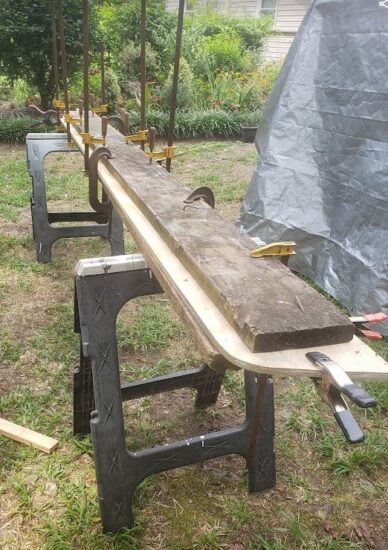
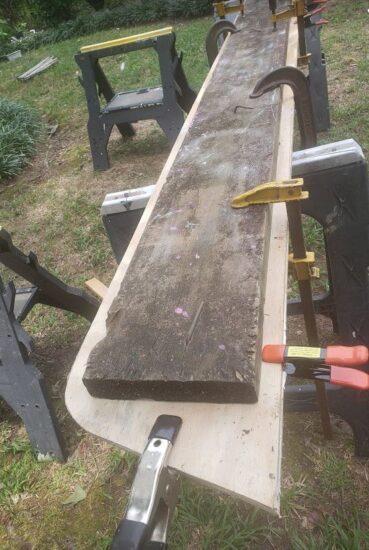
The plywood was clamped together under 2×10 boards until cured. Our finished board was the right length, was just slightly over 1/2″ wide, and there was no butt joint that could fail in the future.
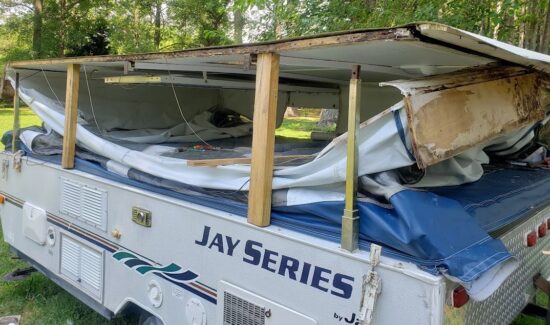
Prop up the roof using 2x4s. Don’t open it all the way; that’s unnecessary and unstable.
Add your new exterior skin to the board before installing. We used vinyl flashing glued to the plywood with flooring adhesive.
After adding seal tape and installing all the trim, we gave it a coat of paint.

Supplies We Used:
- Fiber-reinforced caulk seam tape
- Vinyl flashing
- Flooring adhesive
- Liquid Nails Extreme