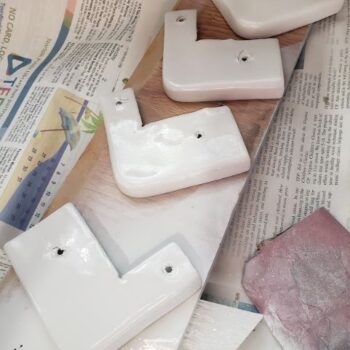
If you have a pop-up camper and are repairing or replacing your curtains, you will probably need new tabs. The tabs have a special ridge that fits inside camper curtain channels. These tabs are sewn directly into the curtains and slide into channels inside the camper, allowing them to be pulled open or closed.
The original tabs are made of a rigid plastic. This allows the plastic ridge to glide smoothly inside the curtain channels. They are sold as Type C or A118 tabs.
You can reuse the original tabs or buy new sew-in curtain tabs on Amazon or other online retailers. They run about $8-$10 for a pack of 14 tabs.
The downside to using sew-in tabs is that they can be expensive and are a little difficult for many non-commercial sewing machines to sew through.
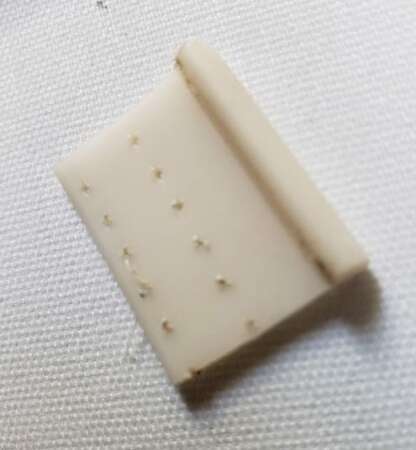
Diy Camper Curtain Tabs A118
We previously posted about some other DIY options available online. But we have since found our own solution that has worked for us and wanted to share it.
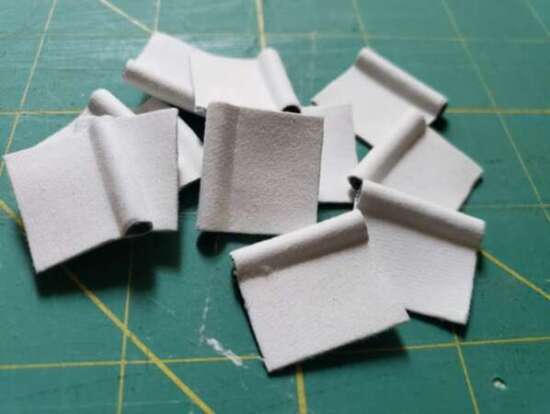
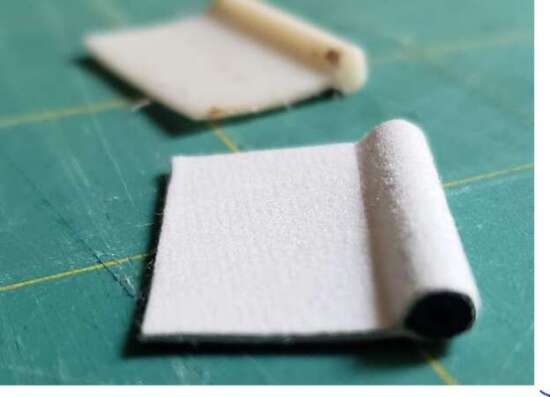
It’s really simple. By gluing window screen spline inside fabric using adhesive spray, we were able to quickly make replacement tabs that were easy to sew into fabric.
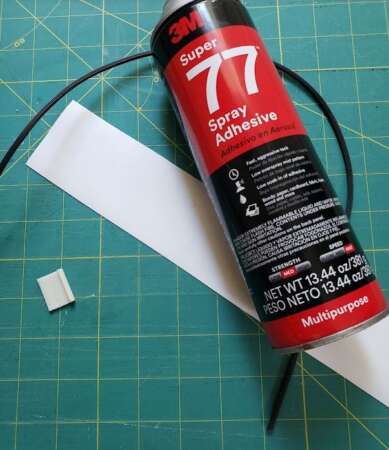
Supplies needed for DIY replacement camper curtain tabs
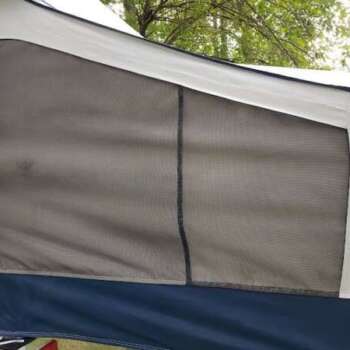
- .12″ screen window spline (measure your channel opening or original tabs to get the right diameter you need)
- 3M Super 77 spray adhesive (or comparable adhesive)
- Fabric
- Scissors
Comparison of the original tabs and the DIY tabs:
Diy Camper Curtain Tabs Compared
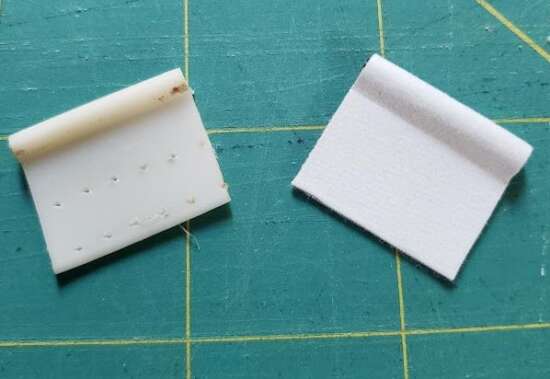
Diy Camper Curtain Tabs Compared
How To:
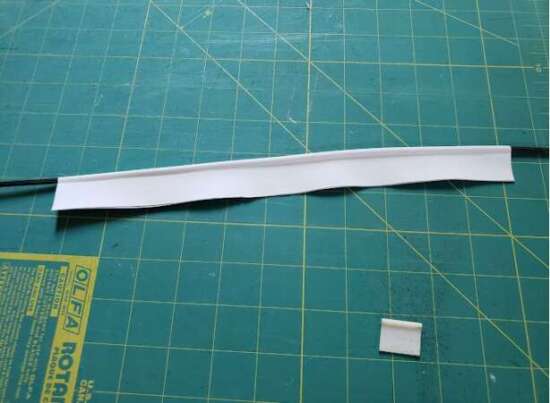
Making the tabs is simple. Just cut some spray some adhesive onto your fabric, place the spline in the center and fold the fabric onto itself. Press down to ensure there is good contact on both sides of the fabric. Then trim the fabric tabs to the lengths needed.
Diy Camper Curtain Tabs Setup

Diy Camper Curtain Tabs Howto
Diy Camper Curtain Tabs Glued