The Problem
I’ve tried virtually all the seed sprouting tricks posted on Pinterest and elsewhere on the internet. I sprout a lot of seeds, so I wanted to find a quick and efficient process. Since I harvest most of my own seeds, not all of them sprout. I don’t want to start them in soil until I know they are viable. I also hate soilless plant mixes; it’s like trying to get styrofoam peanuts to absorb water. And I want to sprout a lot of seeds without worrying about roots getting entangled. And I want to reduce the possibility of transplant shock.
I’ve tried:
- Ziplock bag with paper towel – It worked, but there would always be some mold growth (maybe from the paper?). Some seeds would sprout sideways instead of rooting into the paper. But the biggest problem was removing the seedlings and transplanting. There’s not a lot of material for delicate roots to grasp, plus roots would get entangled with one another regardless of how far apart I spaced them. And I dealt with a lot of transplant shock.
- Soda bottles as mini-greenhouses– This seemed like a great idea since we go through a lot of soda. But it ended up being a lot of work for the amount I needed and the bottles took up a lot of space. Cutting up that many bottles was tedious. Plus I had to add drainage holes later. I also had to cut the bottles open to remove the plants because they wouldn’t slide right out. And this method used way more soil than if I had just used small plant cell packs.
- Toilet paper rolls – Again, had lots of those so this was a “must try”. Mini pots that used very little soil sounded great. Cutting them up and folding them to hold soil was a little tedious due to the number I needed. The biggest issue was that the rolls would start deteriorating before the seedlings were ready to be transplanted. So they’d have to be repotted before the true leaves emerged, and before the roots had fully taken hold.
My Solution
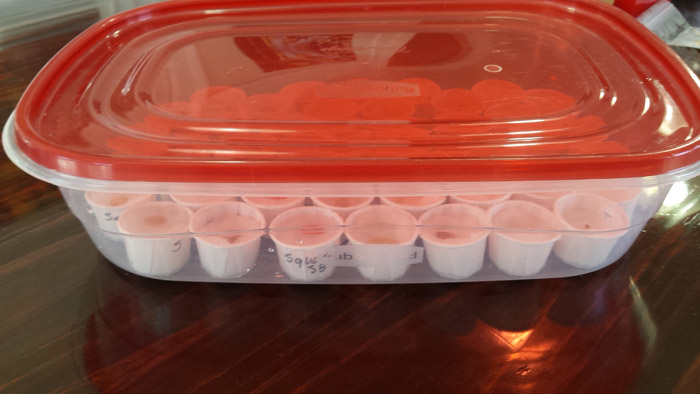
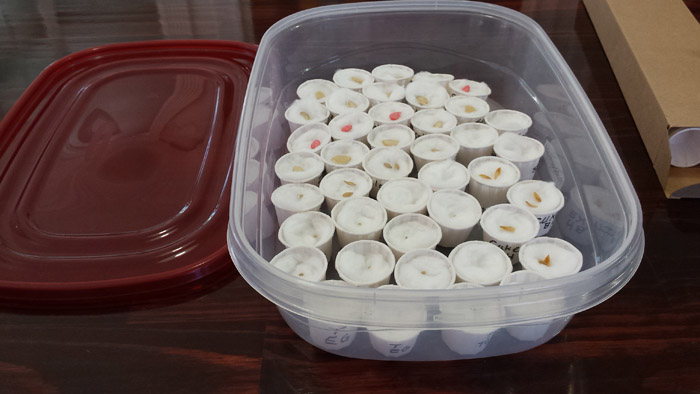
Cottonballs and Paper Medicine Cups. A porous, soiless material that delicate roots could grow into and grab onto inside a tiny cup that’s labeled by seed type. If they are all the same type of seed, I don’t worry about using cups. I placed these inside the extra large food containers, and stacked them on top of one other to save space.
I love this method, especially when sprouting a lot of different seeds at once. Every cup is labeled. No messy soil. No worrying about delicate roots when moving the seedlings because they have the cottonball and the cup for stability.
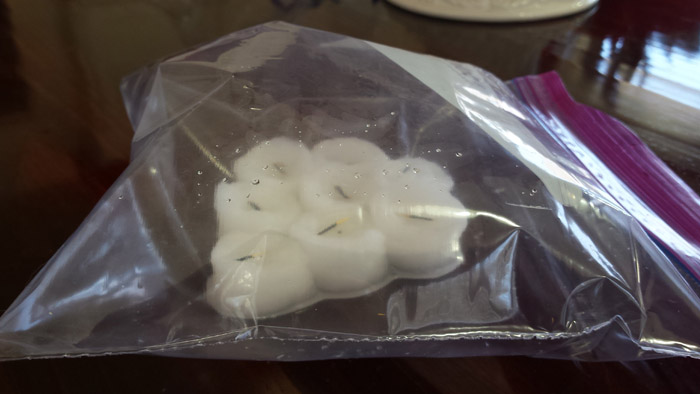
I even used cottonballs without the paper medicine cup inside a ziplock. I just sharpie the label onto the ziplock bag.
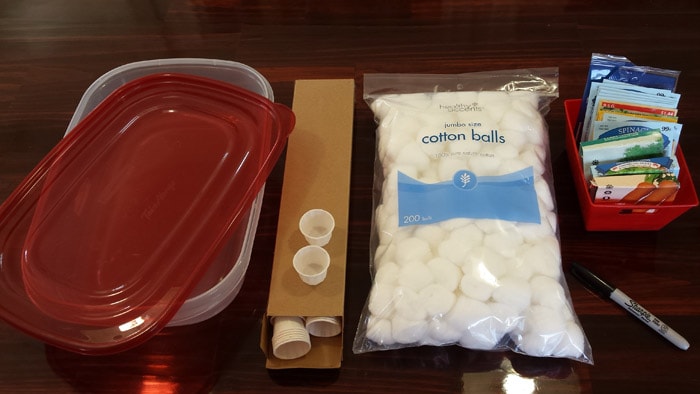
Supplies
- Large plastic food container
- 3/4 ounce paper medicine cups (you can get these at Amazon)
- Cottonballs
- Sharpie
- Seeds (of course)
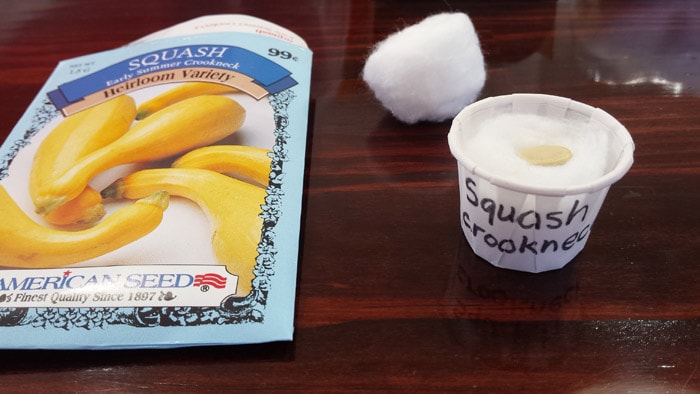
- Label your medicine cup
- Place a cottonball inside
- Add enough water to soak the cottonball
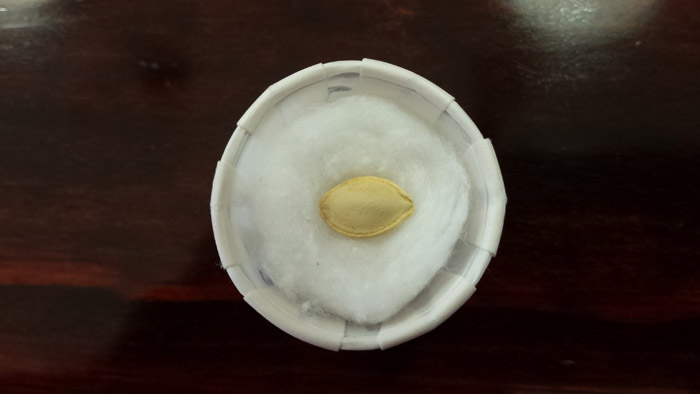
- Lay a seed on the wet cottonball
- Place cups inside plastic container and cover
The Results
In 7-10 days (depending on the type of seed), you should see the seeds starting to sprout. I stacked 5 containers and placed them under a sunny window.
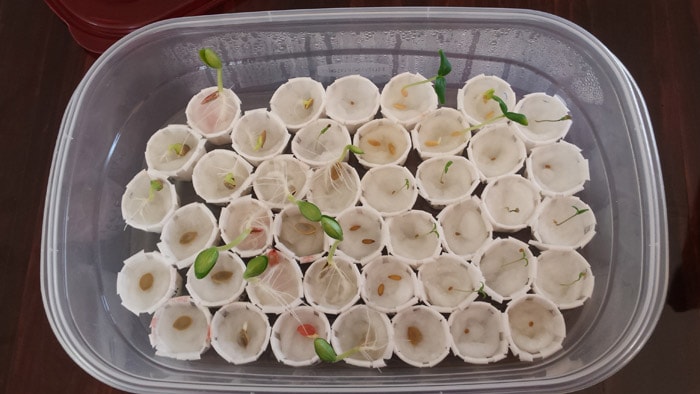
Day 7 – Seeds are sprouting
Once they begin sprouting, I give them each a tablespoon of the DIY Plant Fertilizer weekly until transplanted. I transplant them as their second set of true leaves start growing. They usually have a very nice little root ball inside the cotton by then, and I stress much less about transplant shock. I reuse any cup that has an unsprouted seed.
When they’re ready to transplant, I place the entire seedling cup into a little pot of soil (the cup will eventually decompose). I love that there’s no soil to fall off the roots during transplant and that I don’t have to handle the delicate stem. No more worrying about transplant damage or shock.
Sprouting Seeds In Bulk
The method above works great for me when I’m sprouting a bunch of different seed types that sprout at different rates,and when need to have labels on each one so that I know who’s who. But I seed my annual flowers by the hundreds (petunias, impatients, marigold), so I use a different (but similar) approach for those. Since I don’t need to label those, I use a 72-cell plug flat for each type of seed, line them with cottonballs and plant my seeds.

Seed plug tray of Alaska Marigolds using cottonballs