Making a DIY fire pit is a very simple project if you use trapezoidal blocks. There was only main issue we ran into – the quantities of blocks we needed. First, the fire pit calculator at Home Depot was way off. We ordered way too many blocks; 38 blocks too many. We even compared their calculator results with the fire pit block calculators on other sites, and those sites also overestimated the quantity we needed. We’ll link the site that provided accurate results as soon as we track it down again.
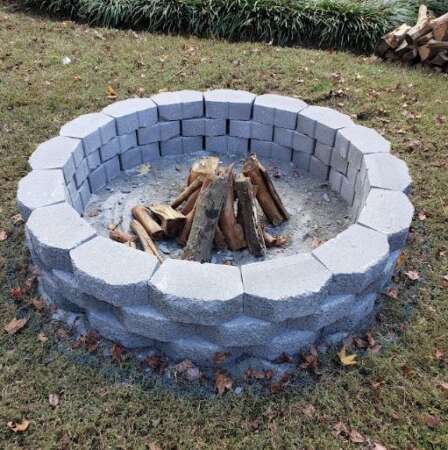
For our 65″ outside diameter retaining wall block fire pit we used 16 blocks for each row, totaling 48 blocks. We wanted it to have at least a 4 foot inside diameter; wide enough for a good sized fire. We settled on having it 12″ tall which ended up a nice height for resting our feet as we watched the fire.
Here are the steps we followed (with photos further below):
How To Build A Fire Pit Using Retaining Wall Blocks
Measure and mark the fire pit location:
- Determine the size fire pit you need for your space.
- Pound a stake at the center of the desired location.
- Tie a string around the stake. It should be 1/2 the diameter of your pit.
- Using the string tied to the stake, mark a circle on the ground using spray paint.
Level the ground underneath the fire pit:
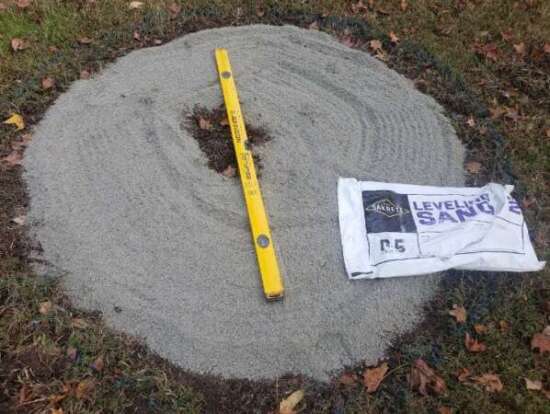
- Use a flat shovel to remove grass and grass roots with the circle.
- Fill the circle with leveling sand, tamp it and then level the sand.
Prep your retaining wall blocks
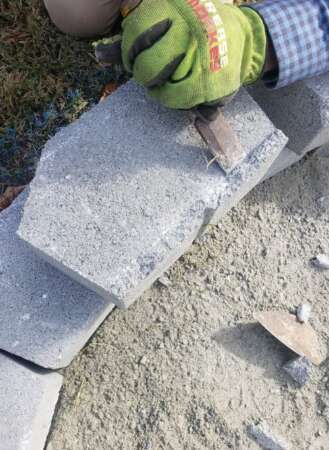
Fire Pit Trim Retaining Blocks
You won’t be able to stack retaining wall blocks with lip unless you want your fire pit staggered. If you want flush edges, you will need to remove the lip. Use a hammer and chisel to chip off the “self-aligning rear lip” on the retaining wall blocks.
The wall retaining blocks come with an edge on the bottom that is meant to overlap underlying blocks. This edge will prevent the blocks on the fire pit from sitting level on the blocks underneath them. You don’t need to remove this lip for the first row of blocks, just on the subsequent rows.
Lay and glue your retaining wall blocks
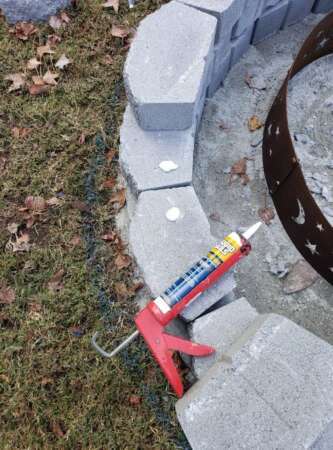
- Laying the first row of blocks is the most time consuming (at least for us it was). Getting the perfect circle started took a lot of block readjustments.
- Use a level to ensure that the first row of blocks is level.
- As you add the next row, put large dots of Liquid Nails Extreme on top of either side of the blocks underneath.
Enjoy your new fire pit!
We’ve really enjoyed our new fire pit, not just for relaxation but also for cooking and burning yard debris. They have proven to be very heat resistant blocks for the fire pit. It was nice not having to mortar the blocks together, and the liquid nails extreme have tightly held the blocks together.