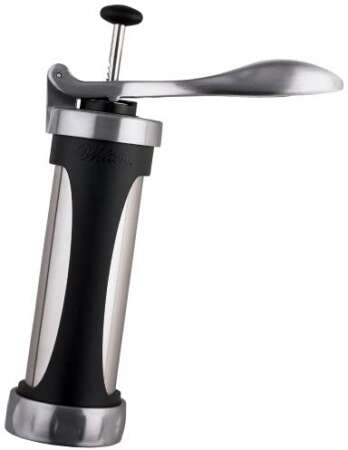
We make a lot of spritz cookies for holidays and other family events. So much that we have 3 cookie presses. One is a Wilton Cookie Pro Ultra (model 2104-4010) and two of the older, white Wilton all-plastic cookie presses.
The plastic ones work great, especially when the cookie dough is at room temperature. But our favorite is the Cookie Pro Ultra because works well even with lightly chilled dough, which is good when we want a cookie to hold more of its shape during baking.
The problem we run into with the Cookie Pro Ultra is that after extended use, the plunger will stop applying pressure on the dough. If this were one of the plastic ones, we’d probably just throw it out rather than bother trying to fix it. But the Cookie Pro Ultra has stood up to years of use, and its solid metal handle means it should hold up for many more years to come.
The problem we discovered was the the spring inside the “escapement assembly” slipped, and it no longer fed the plunger toward the dough barrel. This was most likely due to applying too much pressure when trying to press out chilled dough.
The first time we disassemble the cookie press we made a huge mistake; we didn’t take pictures of how each of the parts were originally assembled within the press. It’s incredibly annoying to reassemble the unit only to find we put it together incorrectly.
Fortunately, Wilton’s original patent application contained diagrams of the cookie press assembly, parts identification, as well as details on its assembly.
https://patents.google.com/patent/US6708853
Disassembling The Cookie Press
Disassembling the cookie press is pretty straightforward.

- Remove the stainless steel dough barrel.
- Pull the white plastic plunger off the rod.
- Pull the plunger rod out of the press.
- Remove the 4 screws from the escapement assembly
- This will detach the hinged handle
- Remove both assemblies and large metal spring from the black plastic housing by pressing down from the top of the housing.
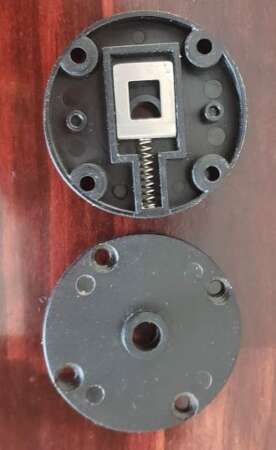
Once the unit is disassembled, open the Escapement Assembly and inspect the spring that presses against the metal disc. The spring may just need repositioning. If the spring is damaged or broken, you can replace it using a spring taken out of a ball point pen.
Reassembling The Cookie Press
There are just a couple of tricks to reassembling the cookie press.
Slide the Advance Assembly back into the black plastic housing from the bottom. There is a small notch on the assembly that needs to be aligned with the small protrusion inside the opening of the housing.
Next, position the large metal spring under the Advance Assembly and slide the Escapement Assembly into the black plastic housing. It’s important that the flat end of the metal disc inside the Escapement Assembly is facing the same direction as the flat end of the disc inside the Advance Assembly.
If everything is aligned properly, reattach the metal hinged handle and secure using the four screws.
When reinserting the plunger rod, you may need a toothpick to slide back the metal discs enough to insert the plunger rod. Once the rod has passed through both assemblies, you’ll need to knock it once from the top to get it all the way through.

