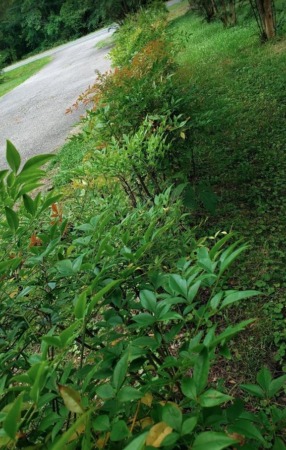
We transplanted Nandina to camouflage 80 feet of chain link fence along our neighbor’s property. The dense layers of delicate leaves and clusters of deep red berries are beautiful year round and are prefect for hiding the fence.
There are some considerations to keep in mind when growing Nandina, which include invasiveness and toxicity.
While researching poisonous plants, we learned that almost 30% of what is growing in on our property (both native species and non-native) were potentially toxic (bummer). We had no plans on removing everything that might be toxic; foxgloves, lantana, oleander, etc, and the nandina was staying too. The berries are considered toxic in high quantities so obviously don’t plant where pets or small children might be able to get to them.
Nandina is considered an invasive species in some areas so it’s important to keep it under control. Our Nandina has been well behaved; not spreading from the hedge row in which they were planted.
Pruning and Propagating Nandina(Heavenly Bamboo) From Cuttings
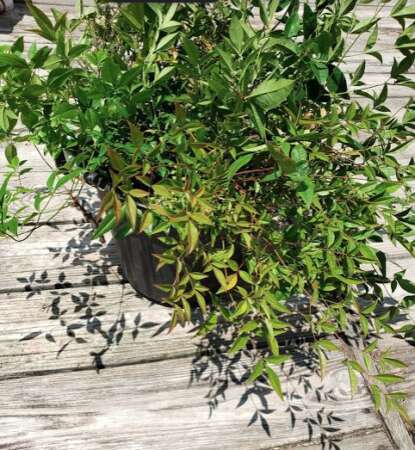
In the Mid-Atlantic, Nandina puts out new growth in Spring and early Fall. We’ve found we can cut the plants down 50% just before their growth period, and they’ll fill back in even bushier with new growth within a few weeks.
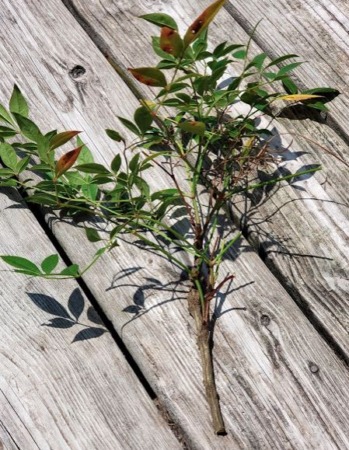
To propagate Nandina, trim 6-12 inch long sections of this new growth in early summer; these are the ones that have tender stems. Cuttings with semi-hardwood stems are okay too, especially if they are growth from earlier in the same year.
If you want to root them up in soil, place each cutting in a clear plastic cup filled with peat mixture, with at least 2-3 inches of the stem in the soil. Lightly water then cover the cup with plastic wrap or a mayonnaise jar to maintain a moist environment and prevent the leaves from drying out until the plant is rooted. They’ll root up best if their leaves receive 75% to 85% humidity during the callus and root formation stage. If necessary, you can add a few drainage holes to the bottom of the cup if the soil has too much moisture. Keep the planted cuttings in a sunny window with temps around 70 degrees. Lightly moisten the soil as needed. In a few weeks you should see roots beginning to develop.
Because we take so many cutting for propagation, we cheat and just place all of them in buckets of water and set them in a shaded area for a few weeks. We have crazy levels of humidity in late summer, which works out perfectly for the cuttings. Even with our “set it and forget it” neglect rooting method, roughly 60-70% of the cuttings successfully take root.
Propagating Nandina Through Plant Division
Mature Nandina plants will send out sucker shoots, which are new plants that appear near the parent plant. Once these shoots have their own root system, you can dig them up and cut them from the parent plant. You can also divide an established plant, but avoid damaging the primary root system. If a few outside stalks have enough roots of their own, they can be separated from the main plant.
Growing Nandina From Seed
To grow plants from seeds, harvest the berries when they are deep red and fully ripe (they’ll still be hard but will have a little “give” to them when pinched). We soak the red berries in water for a few hours, then remove the seeds from the pulp. We then place the seeds in water with 10% hydrogen peroxide overnight. The next morning we plant the seeds in a seed tray filled with peat mix, planting them 1/2 inch in the soil. Cover with plastic and keep at 70 degrees until you see sprouts; usually in 3-6 weeks at the latest. Transplant once the first set of true leaves appear.