Here is a fairly easy, inexpensive way to make graduated braided rope curtain tie backs.
Curtain tie backs aren’t as popular as they used to be, but they are a necessity for outdoor curtains.
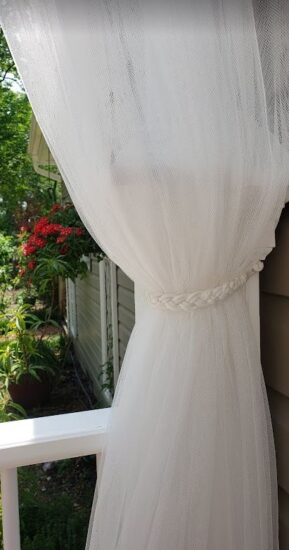
In our case we needed them to prevent our curtains from flying everywhere in even the slightest breeze. We bought inexpensive curtain panels from IKEA to use as mosquito netting that are hung up around our deck. I wanted to be able to tie the curtains up when not in use and needed tie backs that could hold up to the outdoors. We had extra clothes line rope left over from our water-wicking plant project and the rope worked out perfectly for use as tie backs.
Both step-by-step instructions as well as a photo tutorial are provided below.
Supplies Needed
- Paper (for template)
- Tape
- Rope (we used clothes line rope)
- Rubber band
- Large binder clip
- Hot glue gun
DIY Braided Curtain Tie Backs Step-By-Step Instructions
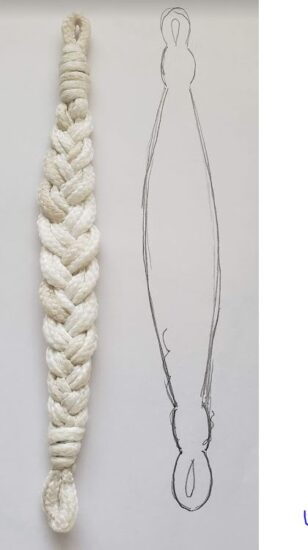
- Make a paper template cut out of the shape and size you need for your tie backs.
- Trace your template onto a sheet of paper.
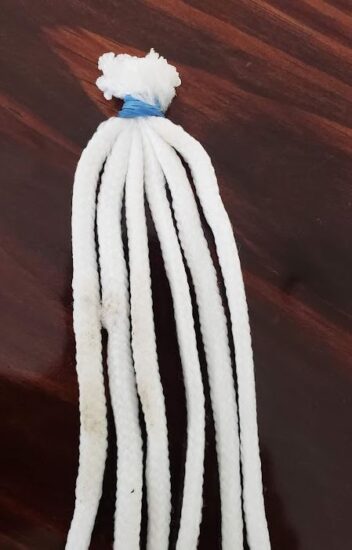
- Cut six strands of rope 2 1/2 times longer than the length of your tie backs.
- Secure one end together using a rubber band.
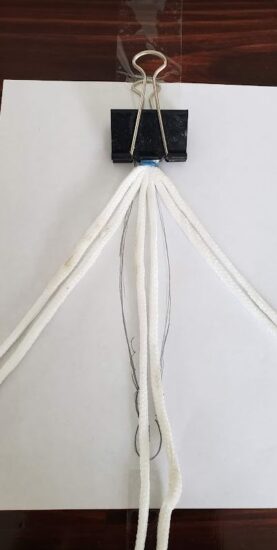
- Use a large binder clip to clamp onto the end of rope, then tape the clip onto your working surface to hold the rope in place.
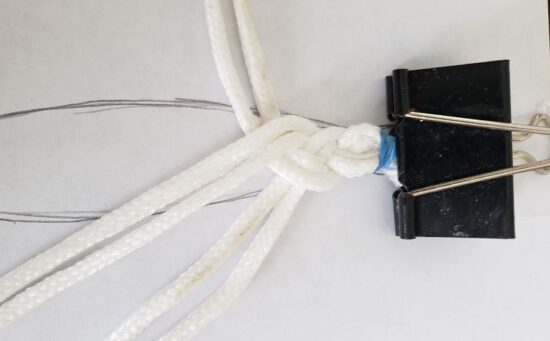
- Begin braiding your tie back using two strands of rope in each pass.
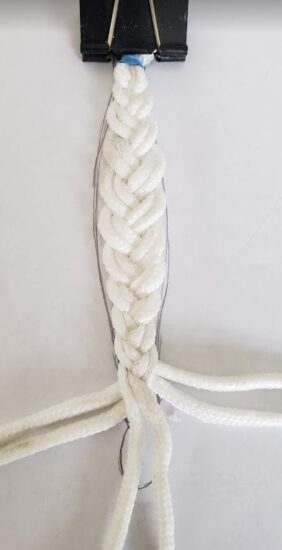
- Follow your template as you braid. Tighten the braid in the beginning and gradually loosen the braid as you progress.
- Keep the rope segments flattened and prevent them from rolling onto one another.
Curtain Tie Backs Picture Tutorial
Create a template that you can use as a guide for braiding your tie backs.
Cut 6 sections of rope to approximately 2.5 times the length you will need for your finished tie back.
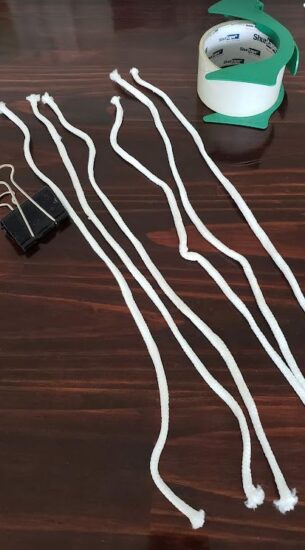
Rubber band one end of the six strands of rope together.
Place a large binder clip over the rubber banded end of the rope and tape the clip to secure it in place.
Begin braiding your tie back, using 2 sections of rope for each pass.
Use your template as a guide on how tight or how loose your braids should be.
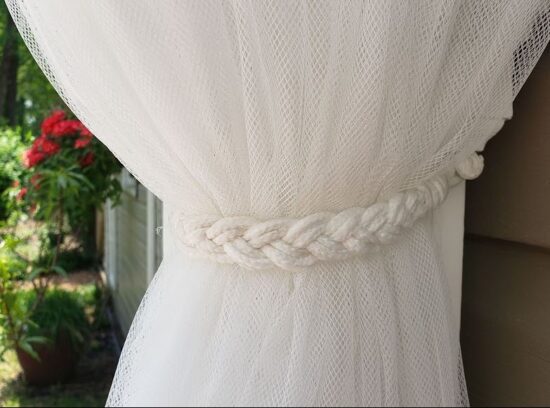
When you come to the end of your template, hot glue the ends together and snip off the excess rope.
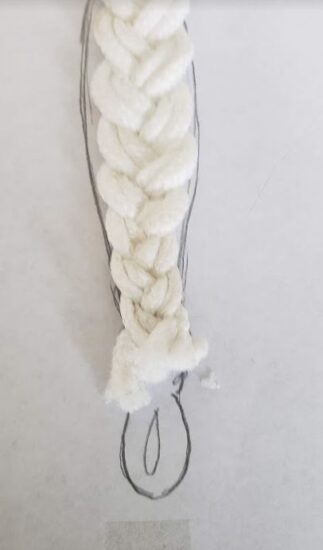
Take a section of rope, hot glue one end onto the end of your tie back, create a loop and hot glue it into place.
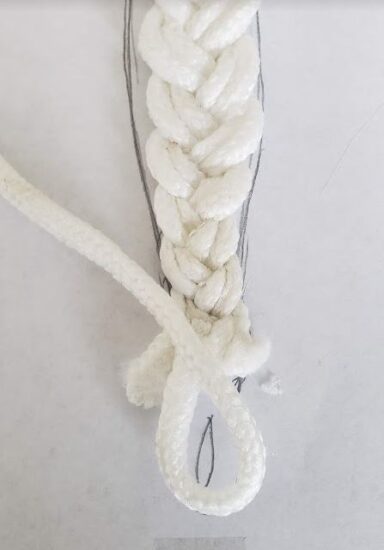
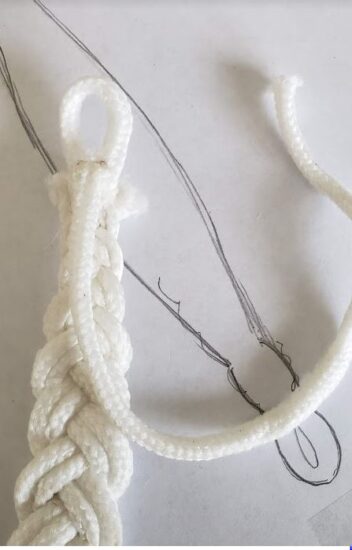
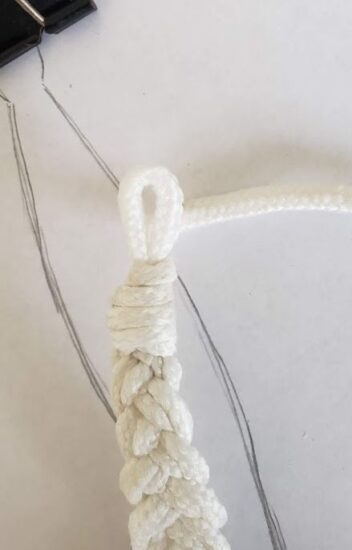
Use the excess rope from your loop to spiral around the tie back to hide the cut ends. Glue into place and trim off the excess. Repeat for the other end and you are finished.
The tie backs prevent our outdoor curtains from blowing all over the place. To secure the tie backs to our posts, we just put in regular wood screws so that they stuck out about 1/4″ to accommodate the tie back loops. We hid the screw heads with little rope rosettes (just rope and hot glue).