A little background info on our 19 foot 2005 camper. We purchased it from its second owner; he had paid an RV dealership $3000 to repair a neglected roof leak and make interior wall repairs.
However, the roof still leaked and the walls were damaged again. As it turns out, the dealership only patched the roof’s rubber membrane with lap sealant. That patch failed because the roof’s plywood had already rotted away. And rather than repairing the front interior walls, the dealership covered the deteriorated walls with hardboard panels.
When we inspected the camper, it had a powerful, overwhelming smell of mold. The front of the camper’s roof was soft, and the interior ceiling was sagging. But we had already seen about a dozen other campers in far worse condition. So, because all the floors in this camper were solid (no soft spots) and the asking price fit our budge, we figured this was a project we could probably pull off.
Rather than provide a step-by-step tutorial (plenty of those already exist), we’ll just include some tips based on what we learned along the way and wish we had known before we started.
- BEFORE YOU START: Take measurements of everything, in relation to how far it is from everything else. You will not remember exactly where everything was positioned once you rip it all out. For example:
- How far is the fan encasement situated from the left and right walls? How far is it from the front of the camper?
- How far are the reading light openings situated from the front wall and how far down are they located from the overhead bunk?
- How many inches from the front wall and ceiling were the openings for the bunk bed retaining pin holes located?
- Repeat this for every single fixture, receptacle, opening, or appliance.
- Create a diagram of the damaged area and document all the measurements for easy reference.
- Take pictures of everything, each and every step of the way.
- Having a visual point of reference really makes restoration decisions easier; especially after everything has been demolished.
- Start your demolition on the inside and work outward, saving the roof for last.
- Use masking tape (lots and lots of masking tape) to:
- Label every single item you remove.
- Tape any screws, washers, fasteners, or other loose items onto the item to which they belong.
- For light and other electrical fixtures, indicate on the tape to which color wire it was connected and what direction that wire was coming from.
- If you are removing wall panels, try to keep them intact (as much as possible) and save them so that they can be used as templates for the new walls.
- If you can’t remove them in one piece, reassemble the pieces once they are removed so that you can still use the old wall panel as a template.
- Use either birch or luan panels as replacements. Seal the panel with Kilz before installation.
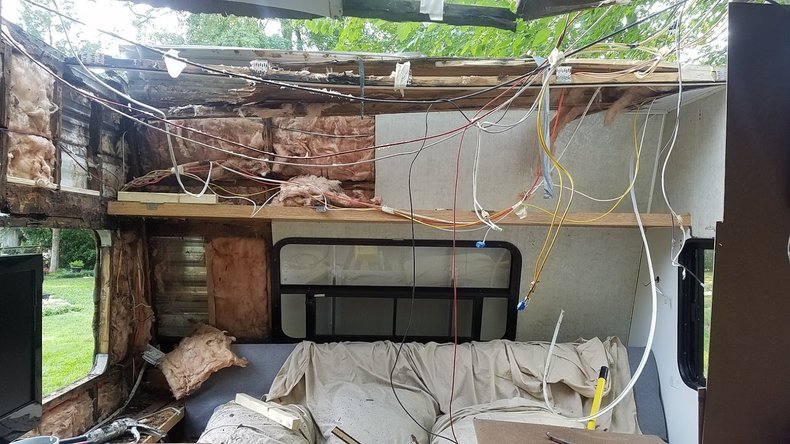
- After you remove the ceiling panels (which are glued to the roof trusses – but do not remove the roof trusses just yet!) and after you remove the insulation, start labeling the wiring.
- The wiring is typically fed through different sections of one or more trusses.
- Make sure you label the wire and indicate which roof truss it was fed through.
- When you replace your ceiling panels, apply liquid nails to each truss that they contact.
- The wiring is typically fed through different sections of one or more trusses.
- If you have to remove roof trusses, label them so you know where they were located. We numbered our trusses 1-5.
- Write the graduated height of the roof truss on each section (for example: 5″ at center and 2.5″ at 12 inches out from center).
- Keep the trusses intact as much as feasibly possible. You will need to know the exact dimensions of each individual truss in order to rebuild the proper slope of your roof. If it’s intact, you can use it as a template.
- Plan on removing/replacing anything that shows any sign of decay or deterioration. These are what cause that terrible mold smell, which will never go away on its own.
- If you have a UVC light, treat the inside of the camper for an hour before installing the walls (while following all safety precautions for properly using a UVC light). The light will kill surface molds and bacteria on the outside of the exposed wood and insulation, which will help get rid of that moldy smell. Using UVC Light To Sterilize And Disinfect Bacteria Viruses And Mold
- Don’t worry about replacing that vinyl wall cove and rope cording.
- Thin sections of pvc trim moulding are easier to install (most times, just with liquid nails), will cover any gaps, and look so much better.
Camper Roof Before Full View
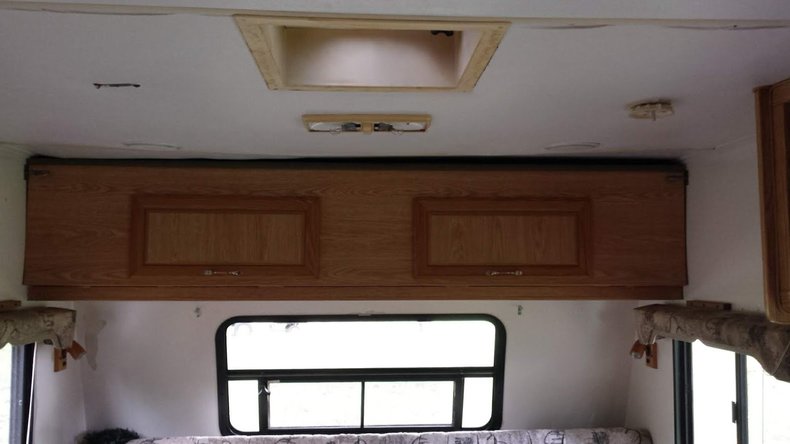
Here, you can see the wet hardboard walls the dealership installed over the original damaged walls.
Camper Roof Before Window
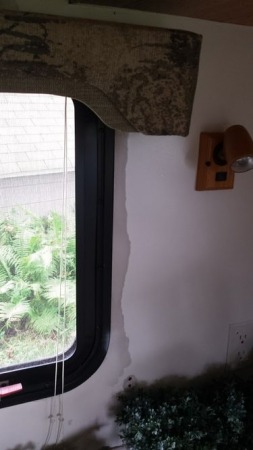
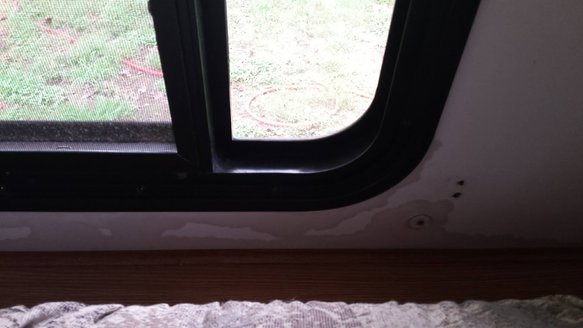
This is the front facing window above the couch. The leak in the roof still causing damage.
Camper Roof Before
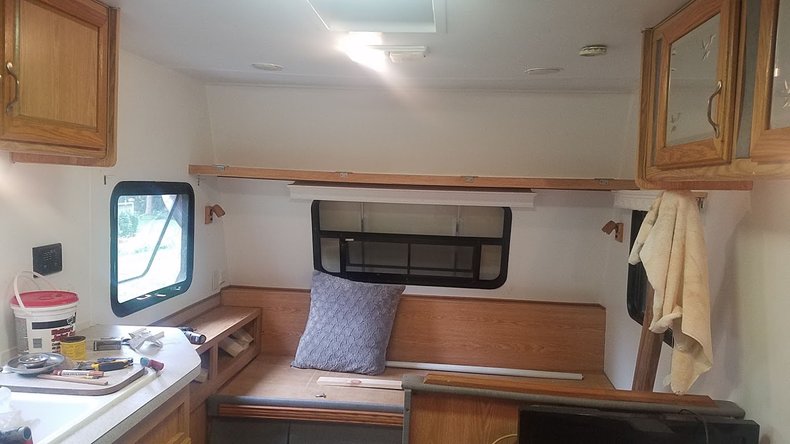
Here is a photo of the front end of the camper, partially through the demolition process.
Camper Roof Demolition

Camper Roof Demolition Label Everything!!!
Camper Roof Demolition Completed